
On this page
Shoot for the edit you intend to make. If the deliverable is a slideshow, the stills on this list are the film. If it is a walkthrough, the clips need to connect. If it might be both, take the stills as usual and add a clip only where a move explains the space better than another frame. The photo-to-video guide assumes the stills exist. This list is how you get them, and the clips, without a second visit.
Agree the shape before you leave the car. A hero shot framed for a wide listing film can fail as a vertical Reel. If both files are in the brief, take the wide frame and a tighter one with the subject centred. The format guide explains why that second frame matters.
Outside the property
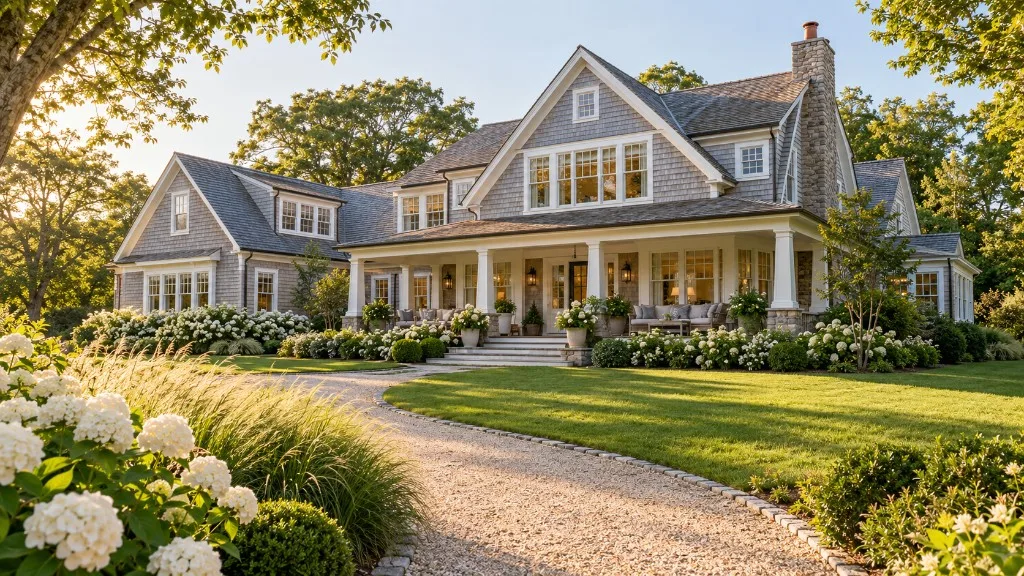
Shoot the front from the pavement or the public approach, straight on if the street allows it, with the whole building in frame. Include a second angle only if the first hides the entrance or the garage. If the light is harsh, wait for cloud or come back to this frame rather than forcing a shot into the sun.
For a clip, walk a few paces toward the door or slide gently along the front. Keep the move short, level and in one direction. Stop before you are so close that the upper floor has left the frame. A locked-off still of the same view is still worth taking. Many edits open on the photograph and never need the walk.
Include the parking space, the gate or the path if a visitor would need it to arrive. Skip the wheelie bins unless you cannot avoid them. They will not become more charming in a video.
The entrance
Shoot the front door from outside and the first view once you are in. The hall, porch or lobby is how the rest of the rooms make sense. A clip that steps through the doorway is worth more than three stills of the door furniture, provided the exposure can cope with the change from outside to in. If it cannot, take the stills and cut between them later.
Main living spaces
For each reception room, take the widest true view from the doorway, then one angle that shows the feature of that room: the fireplace, the window, the way it connects to the kitchen. Do not circle the sofa. Two frames are enough unless the room is genuinely two spaces.
A simple clip here is a slow move from the door toward the window, or a short pan that reveals the second half of an open-plan room. Keep the camera at about chest height and do not tilt up into the ceiling. Vertical lines should stay vertical. If you cannot hold that, take the still and move on.
The kitchen
Show the run of units and the room’s connection to eating or to the garden. Open cupboard doors only if storage is a real selling point and the inside is tidy. A shot of a closed, clean kitchen is more useful than a shot of a mixer on the counter that will be gone by the viewing.
Avoid standing so close to glossy doors and splashbacks that you, the lights and the camera are the subject. Step back, and check the reflection in the screen before you leave the room. This is the frame most likely to embarrass you later.
Bedrooms
Shoot every bedroom that is counted in the listing, including the small one. Buyers and tenants compare the video with the particulars. A missing room looks like a missing room, not like elegant editing.
One wide view from the door is the essential frame. Add a second only for a view, a fitted wardrobe or an en suite doorway you would otherwise hide. Film a clip only in the main bedroom, and only if you can cross the threshold without appearing in a mirror. Name the files as you go. “Bedroom 3” is editable. “IMG_4482” is not, once you are back at a desk with eight properties.
Bathrooms
One clean, bright frame of each bathroom that matters. Include the shower or bath in the same view if you can do it without distortion. Put the seat down, clear the sides, and check the mirror. Skip artistic close-ups of taps. They do not help anyone decide.
A clip in a small bathroom usually shows more of the videographer than the room. Prefer the still.
Garden, balcony or yard
Shoot from the door the occupant would use, looking out, and then turn and shoot back toward the house so the connection is obvious. Include the whole garden if it is small. If it is large, take the entertaining end and one wider view rather than a tour of the fence.
In some markets this space is called a yard rather than a garden. Name it the way the listing does. A short clip that steps out and holds on the view is often the best moving shot on the property. Keep it steady at the end so the edit has a place to rest. If you only have time for one clip on the whole job, make it this or the approach to the front door.
The feature that is easy to miss
Every property has one thing the floor plan will not explain: a view, a workshop, a cellar that is actually usable, a stair light, a garage with power, a window seat. Shoot it on purpose. One frame is enough. If you cannot name the feature in five words, you do not need a shot of it.
Also grab a legible image of the floor plan if you have been given one, for the listing rather than as a dramatic sequence. It only helps if the room names can be read at phone size.
Keep the coverage consistent
The list is a minimum, not a challenge to fill a memory card. The same rooms, shot the same way, are what let you edit quickly and let a viewer compare two of your listings without learning a new style each time.
Before you leave, play back the approach, the living space, the kitchen and the garden on the camera. If any of those four failed, fix it on site. The walkthrough edit cannot replace a room you never pointed the camera at, and a social teaser built from these kinds of ideas still needs one strong frame to open on.
Pack the files named by room. The edit starts there, not in the software.